Blog Entry 3 (Covers Week 5 + Practical 2 ) 👩🏫👩🔧
- Valarie Goh
- Jun 1, 2022
- 4 min read

Updated: May 23, 2023
Heyy everyone! Welcome back to my 3rd blog, this topic will be about CAD Drawing using AutoDesk Fusion 360 for our own product design and Practical 2 of Cardboard Joinery.
Week 5 Tutorial lesson
We learned about Manual Drawing and CAD Drawing which requires us to use FUSION 360 from Autodesk to sketch 3D drawings. 👩🎨
For Manual Drawings, we did:
Warm-Up 1: Sketching straight line
Task 2: Sketching curves
Warm-Up 3: Sketching Circles
Warm-Up 4: Sketching Ellipses
Start Sketching - One Point Perspective
Start Sketching - Two Point Perspective

One-point perspective drawing
Drawing has a single vanishing point
Usually directly opposite the viewer's eye and usually on the horizon line
All lines parallel with the viewer's line of sight recede to the horizon towards this vanishing point
2-point Perspective Drawing
2 vanishing points that represent 2 convergence points and an infinite distance away.
All geometric objects that are arranged perpendicular or parallel to each other will have drawn sides that converge on each vanishing point.
Coffee maker☕️
Using what I learn in the 1-point perspective drawing I am able to draw the coffee machine from the previous schematic diagram to now a 1-point perspective drawing as shown below:
Previous Schematic Diagram:

1-Point Perspective drawing:

I am not good at drawing😅 so it might be a bit ugly however I tried my best to do draw a 1 point perspective diagram of the coffee maker and with the help of my brother's guidance showed an example of my own room and identify where the lines that are perpendicular or parallel are meeting at the same vanishing points. Therefore, I am able to understand that a 1-point perspective is where the lines will meet at the same vanishing point💨.
CA1 Prototype
With the help of Manual Drawings, we were supposed to design a sketch for our prototype for CA1 using a 1-point or 2-point perspective therefore, after much discussion with our group we decided to stick with a 1-point perspective for our design below:
Front View of the Prototype Container and Cover:

Side View of the Prototype:

For CAD Drawing

Beneficial in Product Design
High-quality designs (high accuracy, less error)
Increase productivity (easy to edit/change)
Easier to read/communications
Sharing
Documenting design
I practiced on the different tutorials in FUSION 360 by sketching constraints, keyrings in pre-lesson activity, and drawing photo frames. Some difficulties I face will be the constraints of the circle as some are locked which led to you cannot make the hole in the place you want. Overall, I overcome my difficulties with the help of my brother guiding me through the FUSION 360 software.
Tutorial 1: Sketching Constraints

Tutorial 2: Keyrings

Tutorial 3: Photoframe

Using the knowledge from the Tutorials we learned in Fusion 360 my team and I are able to set up a photo frame with some designs attached to it.
What did each of my teammates in my group do?

Design the base of the photo frame (Asraf):
Length: 142mm
Height: 92mm
Offset: 20mm
d1 extrude: 5mm
d2 and d3 extrude: 10mm
d4 extrude: 20mm

Design the Transparent acrylic sheet of the photo frame (Insyirah):
Length: 182mm
Height: 132mm
Extrude: 3.5mm
Appearance: glass light color (blue)

Design the Grey cover acrylic sheet of the photo frame (Brian):
Length: 142mm
Height: 92mm
d1 extrude: -20mm
d2 and d3 extrude: -10mm
d4 extrude: -5mm

Design the Black cover acrylic sheet of the photo frame (Eshvin):
Length: 142mm
Height: 92mm
Offset: 30mm
Extrude: 40mm
Appearance: Tough 2000(with Formlabs SLA 3D Printers)

Design a logo to fit the photo frame (Valarie):
Using many ways like using the circular pattern in the stars ⭐️and adding text💬 using the fit point spline to add curls to the wording.


Final Design:

Showing all the parts in the photo frame design:

Practical 2 of Cardboard Joinery
During my Practical 2 of Cardboard Joinery, we learn about:
What is corrugated fibreboard (Pre-Session Preparation)
Using the 6 different cardboard joinery
Starting product to the final products (My Group)
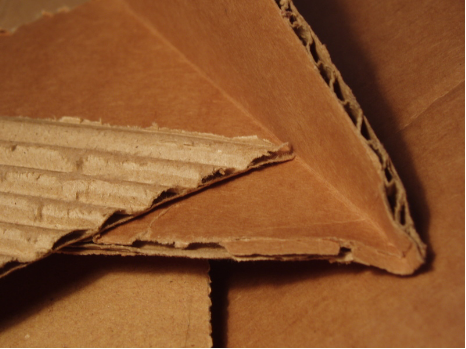
You may be wondering what is corrugated fibreboard?

Referred to as a carton box cardboard
It has two smooth outer faces with a wavy, fluted corrugation layer sandwiched in the middle
Easy to cut, bend, fold, and drill
It has a high strength-to-weight ratio.
What is the 6 different cardboard joinery?
Flange
L-brace
Tabs
Slot + Tab
Slot + Slot = Insert
Holes
brass fasteners
wire
zip ties
skewer

Brainstorming of the product (using 6 different joineries)

My group was wondering to build the prototype that we are supposed to do for CA1 and we sketched our plan and plan the diameter, circumference, and height of our prototype. However, our
lecturer, Mr. Ting told us we can build anything we want with creativity and not a small kid design that we build during our young times. So, my teammate, Asraf came up with the idea of building a gun from Suicide Squad as "Bloodsport"

(Derek Draven, 2021)
Creating the product:
We split up our workload where,
Bryan: slot + slot = insert
Valarie(me): slot + tab

Asraf: flange, skewer

Insyirah: zip ties, L-Brace

Eshvin: brass fasteners

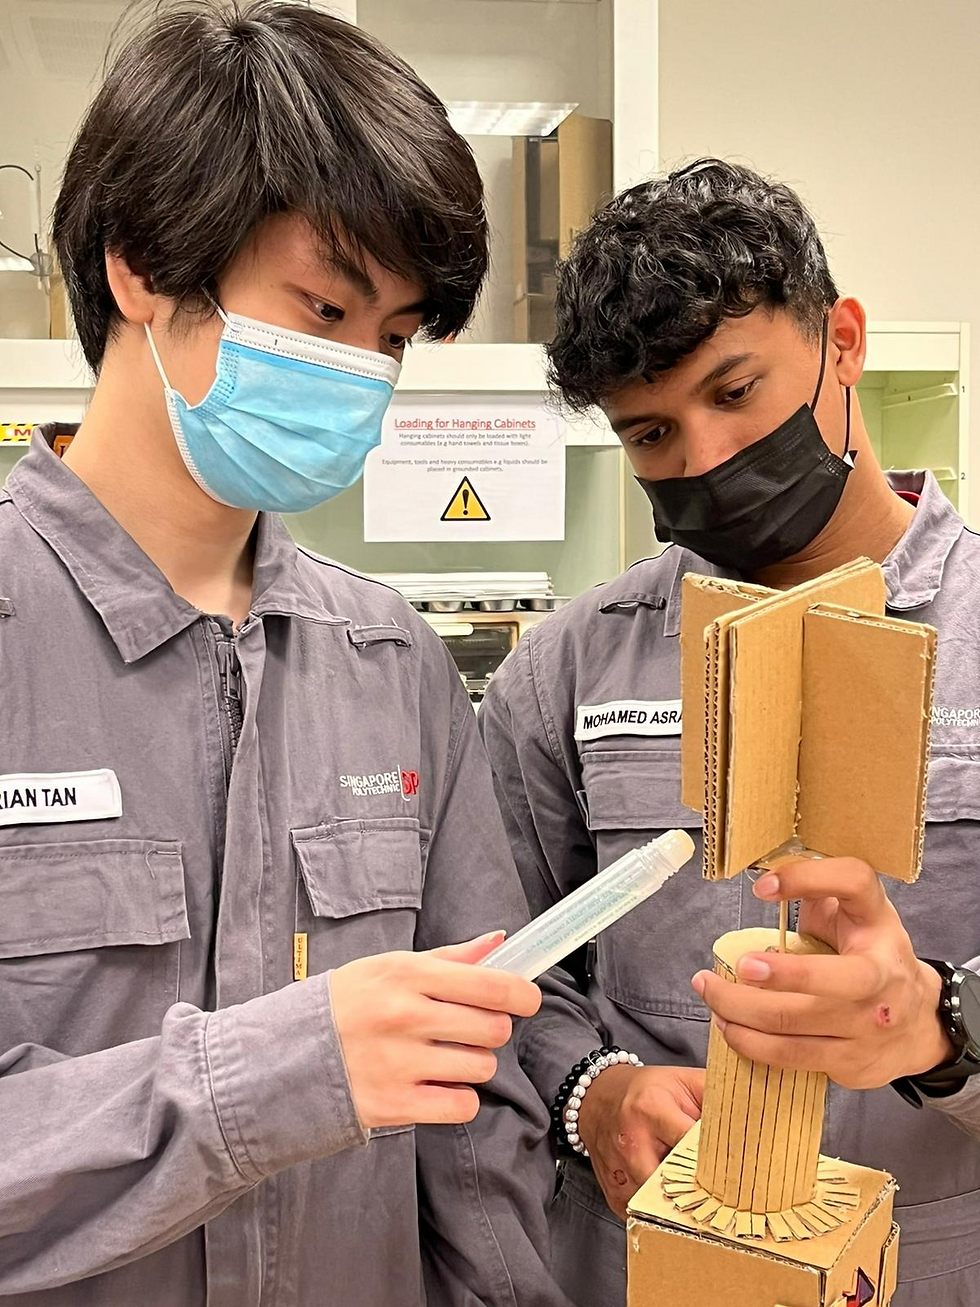
Final Product:
We called our product "⚡️Punjabi power⚡️" which signifies how powerful and strong our product is which is able to sustain with the source of 6 different joineries instead of using tapes to paste over. With the effort of my teammates that are Bryan, Asraf, Eshvin, Insyirah, and Valarie (me) we were able to overcome all different kinds of difficulties in the construction of this gun🔫. Some difficulties we face will be the start of construction of the gun as we decided to do joineries first then we think about what product to make however Mr. Ting came to our group to question us what we making so at that moment Asraf said to make a gun from Suicide Squad from "Bloodsports" So we distribute the roles on how each one us will design which part. Therefore, we came out with the name "Punjabi Power"

Right Side View:

Left Side View:

Thanks to my team, we are able to complete this final product of the gun with no tape required and more of the 6 different joineries. On top of that, our class have fun and was bonded as we came out with different types of designs like guns(my team)🔫, titanic ⛴️, and airplanes 🛫as shown below:

Improvements to be made:

I feel that my team was able to handle the last-minute task and executed it efficiently so maybe one thing I would think of improving will be having a plan on what to make before cutting the cardboard as having a plan can set your mind in where you supposed to do and nobody will be lost in the group. Overall, having them as my groupmate have helped me a lot as we get to crack our mind easily in one go without thinking so much and executing to do the product easily.
Thanks for reading my blog!😎Hope you all will like, share and subscribe to my blog for more amazing content from this ICPD modules and with my team!🤩Stay tuned for my weekly blog!!!🤗


Comments